
The Invisible Architect: Mastering Audio Automation for Professional Soundscapes
In the high-stakes world of modern media production, the difference between a amateurish amateur edit and a polished, professional-grade production often comes down to a single, subtle element: movement. While visual editing captures the eye, the ear demands a dynamic experience that mirrors the reality of the world—or creates an entirely new one. This is where the power of automation comes into play. Often referred to as the "silent engine" of audio engineering, automation is the process of using digital tools to adjust audio parameters over time, transforming static recordings into living, breathing soundscapes.
Whether you are mixing a cinematic feature film, producing a chart-topping pop track, or editing a high-energy YouTube documentary, understanding automation is no longer an optional skill—it is a prerequisite for excellence. By moving beyond "set-and-forget" volume levels, editors can contour their audio to give depth, character, and emotional weight to their projects.
Defining the Mechanism: What Is Automation?
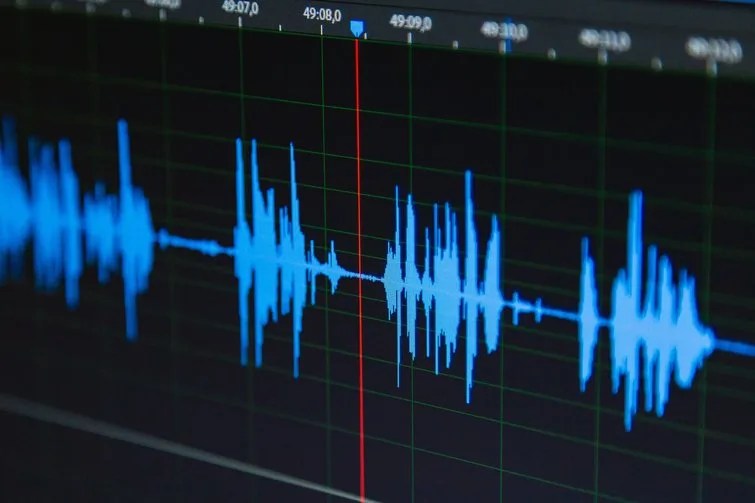
At its core, automation refers to the software-assisted manipulation of audio parameters—such as volume, panning, EQ, and effect intensity—that changes automatically during playback. If a static mix is a flat painting, an automated mix is a 3D environment.
The Philosophy of Movement
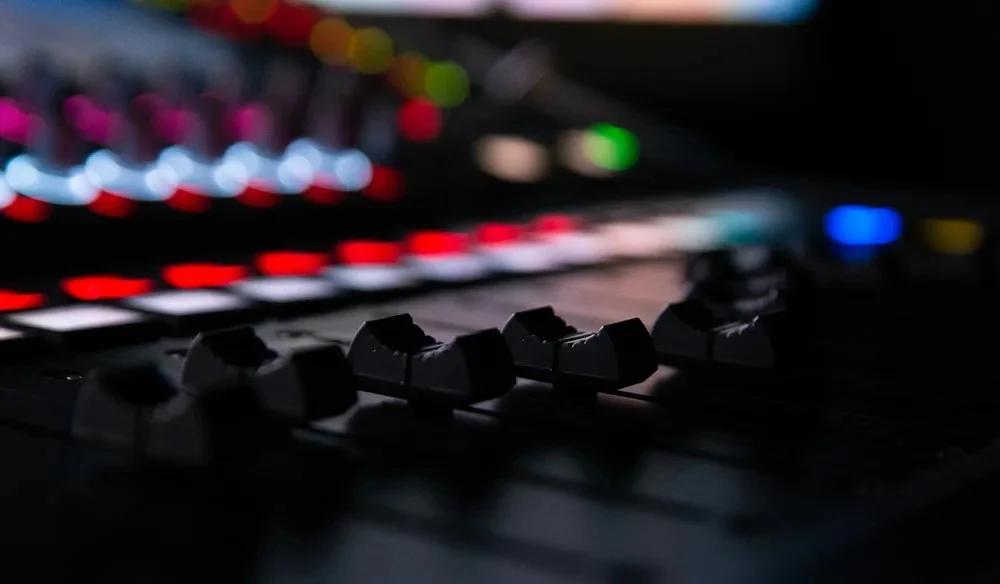
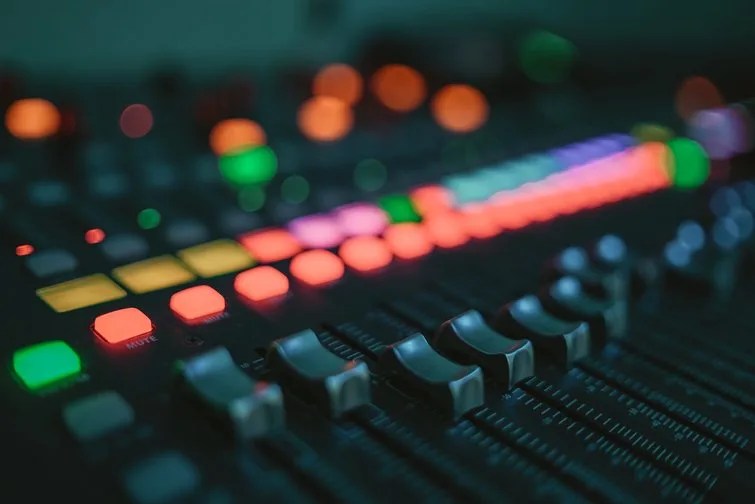
In the early days of analog recording, automation was a physical, hands-on nightmare. Sound engineers would literally have to "ride the faders," physically moving knobs on a mixing console in real-time as the tape rolled. If a mistake was made, the entire pass had to be scrapped and re-recorded. Today, digital audio workstations (DAWs) have democratized this process, allowing editors to draw, record, and refine automation curves with surgical precision.
Automation is the bridge between a dry, clinical recording and an immersive experience. It allows for the subtle "ducking" of background music when a character speaks, the gradual widening of a stereo image as a scene expands, or the shimmering transition of a reverb tail as a song reaches its crescendo.
The Chronology of Control: From Manual Faders to Precision Curves
The evolution of automation has mirrored the shift from analog to digital workflows. To understand where we are, we must acknowledge how we arrived here:

- The Analog Era (1950s–1980s): Automation was entirely manual. Engineers required lightning-fast reflexes and, often, a second pair of hands to adjust multiple parameters simultaneously.
- The Advent of VCA Automation (1970s–1980s): Voltage Controlled Amplifiers allowed desks to store and recall fader movements, though these systems were prohibitively expensive and largely confined to elite studios.
- The DAW Revolution (1990s–Present): The rise of software like Pro Tools, Logic Pro, and DaVinci Resolve’s Fairlight engine changed everything. Automation became a visual data point—a line on a screen that could be moved, copied, pasted, and smoothed with a mouse click.
This chronological shift has moved the focus of the audio editor from "manual dexterity" to "creative decision-making." The tool is no longer the obstacle; the vision is the only constraint.
Technical Foundations: Navigating Write and Trim Modes
To harness the power of automation, one must master the two fundamental modes found in almost every professional audio suite: Write and Trim.
Write Mode: The Creative Capture
Write mode is the "live performance" setting. When active, any parameter you touch—the volume fader, the pan knob, or the wet/dry mix of a reverb plugin—is recorded by the software as a stream of automation data. This is ideal for when you want to "feel" the mix. For instance, if you are mixing a dramatic scene, you might play the video back and intuitively pull the volume down as a character turns away from the camera. The software captures that organic, human movement, turning it into a precise curve that can be tweaked later.
Trim Mode: The Surgical Correction
Once the "performance" is captured, you often find that the automation is slightly off. Perhaps the volume dips too low in one section, or the panning is a bit too aggressive. This is where Trim mode shines. Instead of erasing your previous work, Trim allows you to offset existing automation. It enables you to move the entire curve up or down or modify specific points without losing the original shape of the data. It is the ultimate tool for fine-tuning the balance of a mix.
Supporting Data: The Impact of Automation on Audience Engagement
Industry studies in psychoacoustics have shown that viewers are significantly more likely to perceive a production as "high quality" if the audio levels remain consistent yet dynamic.
- Intelligibility: Automation allows for "intelligent ducking." By automating the volume of background music to dip by 3–6 decibels during dialogue, editors ensure that the spoken word remains clear without the music feeling like it is cutting out abruptly.
- Spatial Awareness: Through panning automation, engineers can create a sense of three-dimensional space. Research indicates that sound movement (panning) that matches visual movement (on-screen action) increases viewer retention and reduces "cognitive load," allowing the audience to focus on the story rather than struggling to process disjointed audio.
- The "Fatigue Factor": Static, unautomated audio can lead to listener fatigue. By introducing subtle, non-distracting variations in volume and frequency via automation, the brain remains stimulated, keeping the viewer engaged for longer durations.
Implications for Filmmaking and Dialogue
In the context of dialogue editing, automation is often the difference between an amateur-sounding project and a cinema-ready product. When dialogue is recorded in "acoustically challenged" environments—like an echoey hallway or a noisy street—automation becomes a corrective tool.
The "Distance" Effect
Imagine a character walking away from the camera. A novice might simply lower the volume at the end of the clip. A professional uses automation to create a multi-layered effect:
- Volume: Gradually reducing the gain to mimic distance.
- EQ: Automating a high-shelf filter to cut the frequencies as the character moves away (mimicking the air’s natural absorption of high-frequency sound over distance).
- Reverb: Gradually increasing the "wet" signal of a reverb plugin to simulate the character entering a larger, more reflective space.
This combination of automated parameters creates a subconscious sense of realism that pulls the audience deeper into the narrative.
Beyond the Mix: Automation in Music and Sound Design
While dialogue demands clarity, music and sound effects allow for artistic experimentation. Here, automation is often used to build tension and release.
Tempo and Intensity
In music production, automating tempo or the intensity of a compressor can change the feel of a song entirely. A slow, steady build-up in volume (a "crescendo") is almost always achieved through automation. Similarly, automating the "dry/wet" knob on a delay effect can create a dreamy, swirling sound that builds toward a climax, providing a professional polish that manual volume adjustments cannot replicate.
Transitional Smoothness
One of the most common errors in sound design is the "digital click"—the harsh, instantaneous stop of a sound effect. Automation allows editors to create smooth, logarithmic fades that allow a sound to dissipate naturally, even if the underlying audio file ends abruptly.
Expert Perspectives: The Future of AI in Automation
We reached out to audio engineering consultants regarding the future of this craft. The consensus is clear: while AI-driven tools are beginning to automate the automation process (e.g., auto-ducking plugins), the human touch remains irreplaceable.
"Automation is an extension of the editor’s intent," says one lead audio mixer at a major post-production house. "AI can calculate the average volume, but it cannot know that a character is crying, and therefore the background music should be slightly sharper and more dissonant. That is an artistic choice. Automation is simply the delivery system for that choice."
The implication for the future is that editors will spend less time on the technical aspects of drawing lines and more time on the musicality of the mix. The tools are becoming more intelligent, but the architect of the soundscape remains firmly in the chair.
Conclusion: Starting Your Automation Journey
If you are new to the world of automation, the best approach is to start small. Open your preferred DAW—whether it is DaVinci Resolve, Adobe Audition, or Pro Tools—and load a simple project.
- Volume First: Start by automating the volume of a single background track. Don’t worry about complexity; just focus on making the music follow the rhythm of the visual cuts.
- Experiment with EQ: Try automating a high-pass filter to "open up" a sound during an exciting moment in your film.
- The "Play-Around" Session: Download a set of royalty-free sound effects and practice using automation to blend them into your scenes.
The thrill of audio editing lies in these nuances. By mastering automation, you are no longer just editing; you are choreographing a sensory experience. You are moving from a world of static, two-dimensional sound into a vibrant, living, and fully realized soundscape. The next time you find yourself editing, look at your timeline not just as a sequence of clips, but as a canvas for motion. Your audience—even if they cannot articulate why—will certainly notice the difference.
