
The Invisible Architect: How Automation Transforms Audio and Video Post-Production
In the sophisticated world of modern media production, the difference between a amateurish project and a professional-grade masterpiece often lies in the "invisible" details. While visual editing captures the eye, it is the sound design—the subtle swells of music, the crisp clarity of dialogue, and the immersive movement of effects—that anchors an audience’s emotional experience. Central to this technical craft is a cornerstone tool: automation.
Automation represents the evolution of mixing, allowing editors and sound engineers to move beyond static, two-dimensional soundscapes. By enabling software to adjust audio parameters dynamically over time, automation breathes life into digital projects, transforming stagnant audio files into a breathing, responsive environment that mirrors the complexity of the human experience.
What Is Automation? The Core Mechanics
At its most fundamental level, automation is the process of delegating repetitive or complex parameter adjustments to your digital audio workstation (DAW) or non-linear editing (NLE) software. Rather than manually adjusting a fader during a real-time mix, an engineer "writes" instructions for the software to follow.
These parameters include, but are not limited to:
- Volume: Ensuring consistent levels across fluctuating dialogue or dynamic musical tracks.
- Panning: Placing sound within a stereo or surround field to match visual movement.
- Effects Parameters: Modulating the intensity of reverb, delay, or equalization as a scene progresses.
By applying these adjustments thoughtfully, creators can create a sense of depth and spatial reality. Without automation, a soundtrack remains locked at a constant state, failing to react to the narrative shifts occurring on screen. Whether you are mixing a cinematic feature, a commercial spot, or a music track, automation is the bridge between a recording and a performance.
A Chronology of Mixing: From Analog Faders to Digital Curves
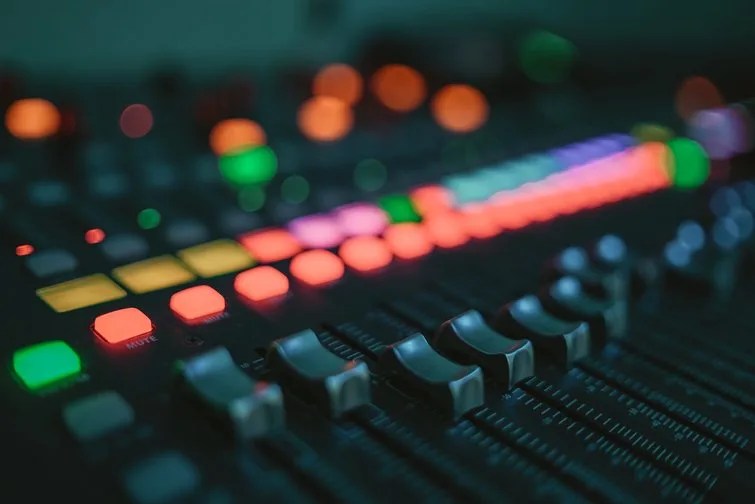
The history of audio production is defined by a constant pursuit of control. In the mid-20th century, mixing was a physical, high-stakes performance. Engineers sat at massive mixing consoles, their hands dancing across dozens of faders. If a vocal needed to be louder during a chorus or a sound effect needed to dip to accommodate dialogue, the engineer had to perform these changes in real-time.

The Manual Era
During the early days of studio recording, "mixing" was a live event. If an engineer made a mistake three minutes into a track, the entire process had to be restarted. There was no "undo" button, and there was certainly no way to record fader movements for later refinement.
The Rise of Voltage Control
The introduction of Voltage Controlled Amplifiers (VCAs) in the 1970s and 80s changed the game. It allowed for the first wave of rudimentary automation, where consoles could "remember" snapshots of fader positions. However, these systems were expensive and restricted to elite professional studios.
The DAW Revolution
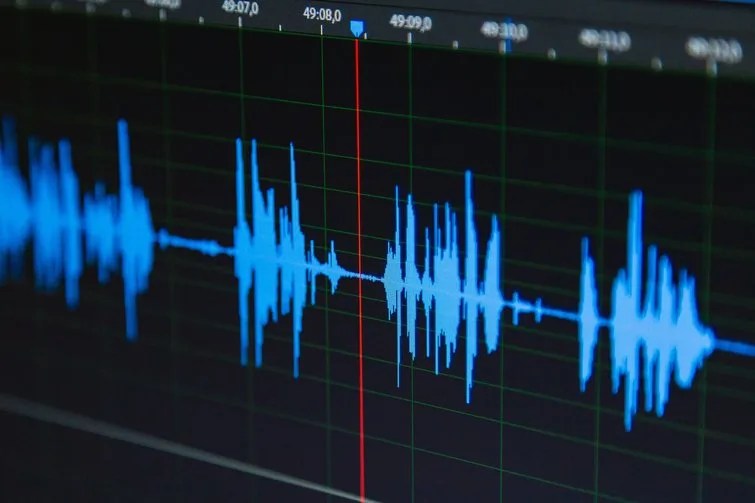
The digital transition of the 1990s and 2000s democratized this power. With the rise of software like Pro Tools, Logic Pro, and later, DaVinci Resolve’s Fairlight, automation became a visual, data-driven task. Instead of moving a physical fader, editors began drawing "automation curves"—graphical representations of volume and effects over time. This shifted the role of the sound editor from a performer to an architect, allowing for surgical precision that was previously impossible.
Mastering the Workflow: Write and Trim Modes
To harness the power of automation effectively, one must understand the two primary operational modes found in most professional editing software.
Write Mode: The Performance Layer
Write mode is designed for the initial creative phase. When a track is set to Write, the software records every movement you make on your hardware controller or mouse in real-time. It is highly intuitive; you play the video or audio back, and as you adjust the volume or EQ, the software writes those changes as automation data. It is the best way to capture the "feel" of a mix, as it allows you to react to the rhythm of the edit instinctively.
Trim Mode: The Refinement Layer
Once the "performance" of the automation is captured, you inevitably need to tweak it. This is where Trim mode (or "Touch/Latch" variations) becomes essential. Trim mode allows you to edit existing automation curves by shifting them globally or modifying specific segments. Instead of overwriting your hard work, you can nudge a curve up or down, delete errant automation points, or smooth out jagged transitions. It is the tool of the perfectionist, allowing for the fine-tuning that separates a rough draft from a final, polished master.
Supporting Data: Why Dynamics Matter
The necessity of automation is backed by the physics of human perception. Research into psychoacoustics suggests that our brains are programmed to focus on clarity and spatial consistency.
- Dialogue Intelligibility: Studies in broadcast engineering show that viewers lose interest if dialogue is not clear. By using volume automation to "duck" background music when a character speaks, editors ensure the narrative remains the priority.
- Spatial Awareness: Human hearing relies on volume differences between the left and right ears to triangulate sound. When an object moves across the screen, the audio must follow suit through panning automation. Failure to match the visual vector with an audio vector creates a "cognitive dissonance" that can pull the viewer out of the story.
- Dynamic Range: Modern streaming services have strict "loudness standards" (such as LUFS). Automation is the primary tool used to ensure that a project meets these broadcast requirements without sacrificing the artistic intent of a whisper-quiet scene or an explosive action sequence.
Implications for Professional Filmmaking
The implications of mastering automation are vast. In the competitive landscape of content creation, the technical quality of your audio serves as a subconscious signal to the audience.
The "Invisible" Narrative
When automation is used correctly, the viewer should never notice it. It is an "invisible" art. If a character walks from the back of a room to the foreground, the gradual increase in volume and the subtle shift in EQ—as the room reflections change—should feel entirely natural. When this is missing, the scene feels flat, disconnected, and amateur.
The Efficiency of the Modern Workflow
Automation allows for a non-destructive workflow. By using automation to handle level balancing and effect shifts, editors preserve the integrity of the original source audio. They are not permanently changing the volume of a clip; they are merely instructing the software how to treat it. This flexibility is vital in collaborative environments where a producer or director might request changes days after the initial edit.
Expert Perspectives and Future Trends
Industry professionals, including renowned editors like Jay Lippman and teams from We Are Film, emphasize that automation is not just a technical requirement—it is a creative frontier.
"The thrill of audio editing," as many veterans note, "is in the nuance." Modern AI-driven tools are beginning to assist with basic automation, such as auto-leveling dialogue or removing background noise, but the creative intent—the decision to make a sound swell in a moment of tension or to dip a music track to emphasize a whisper—remains a uniquely human endeavor.
As we look toward the future, we are seeing the rise of object-based audio (like Dolby Atmos). In these formats, automation is even more critical, as it is no longer just about stereo panning, but about placing sound in a three-dimensional space. The editor of the future must be a sound sculptor, using automation to define the boundaries of the sonic world.
Conclusion: Start Your Journey Today
The path to professional audio editing is paved with practice. The most effective way to learn is to step away from the theory and enter your DAW.
- Start with Volume: Download a simple, royalty-free track and a dialogue clip. Practice fading the music down exactly when the speech begins, and bringing it back up during the pauses.
- Experiment with Panning: Take a sound effect—like a car passing by—and use panning automation to ensure the audio moves across the soundstage in perfect sync with the visual.
- Explore Effects: Use automation to gradually increase the reverb on a character’s voice as they walk into a large, empty hall.
Automation is not merely a set of tools to be learned; it is a mindset to be adopted. By mastering the art of the curve, the fade, and the pan, you gain the power to shape the listener’s experience, turning every project into an immersive, living piece of art. The tools are waiting—it is time to start automating.
