
Elevating Static Visuals: Mastering Advanced Motion Techniques in Adobe After Effects
In the fast-paced world of digital content creation, the difference between a professional-grade video and a lackluster edit often comes down to the treatment of still imagery. While the "Ken Burns" effect—the industry standard of slowly scaling into a static photograph—remains a functional tool, it is increasingly viewed as an elementary technique that fails to capture the attention of modern, high-engagement audiences. As creators seek to push the boundaries of visual storytelling, the demand for more sophisticated motion design has surged.
For video editors and motion graphics artists, Adobe After Effects stands as the premier platform for transforming flat, lifeless images into dynamic, cinematic experiences. This guide explores four professional-grade methodologies designed to inject depth, movement, and narrative urgency into your static assets, moving beyond basic keyframing to achieve a polished, high-budget aesthetic.
The Evolution of Static Imagery in Motion Design
The integration of still photography into motion sequences dates back to the early days of documentary filmmaking. However, the contemporary digital landscape, characterized by social media scrolling and short-form video consumption, requires a more aggressive approach to visual retention.
Modern motion design is no longer just about showing an image; it is about creating a "spatial experience." By utilizing After Effects’ 3D workspace, masking capabilities, and compositing workflows, editors can dismantle the two-dimensional constraints of a photograph, allowing the audience to explore the frame in ways that feel organic and immersive. This shift is not merely stylistic—it is a functional response to the need for higher audience engagement metrics.

1. Dimensionalizing with 3D Texture Layers
The most effective way to break the "flatness" of a 2D image is to introduce parallax. Parallax—the displacement or difference in the apparent position of an object viewed along two different lines of sight—is essential for creating a sense of three-dimensional depth.
The Technical Workflow
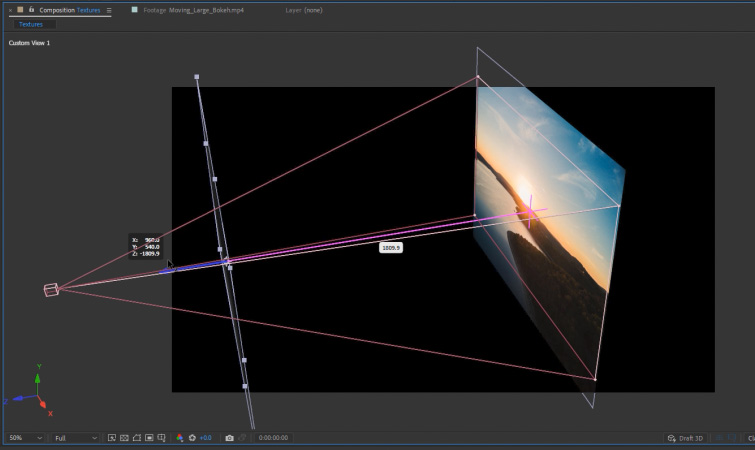
To achieve this, start by importing your primary photograph into your After Effects composition. Convert the layer to a 3D Layer by toggling the cube icon in the layer panel. Next, introduce a texture layer—such as a glass grain, dust particles, or film scratches—and similarly set it as a 3D layer.
The secret lies in the spatial distribution of these elements. By creating a new Camera layer and navigating to the Custom Camera View, you can push the texture layer physically closer to the camera in Z-space, while keeping the main subject further back. As you animate the Z-Position of the camera, the foreground texture will move at a different velocity than the background image. This differential movement creates a tangible sense of air and volume between the viewer and the subject, preventing the image from feeling like a static cardboard cutout.
2. Dynamic 3D Screen Animations
When presenting digital interfaces, screenshots, or website layouts, a simple cut-to-image transition is rarely sufficient. To elevate these assets, many professionals employ a "floating screen" technique that treats the image as a physical object within a 3D environment.
Implementing the 3D Null Controller
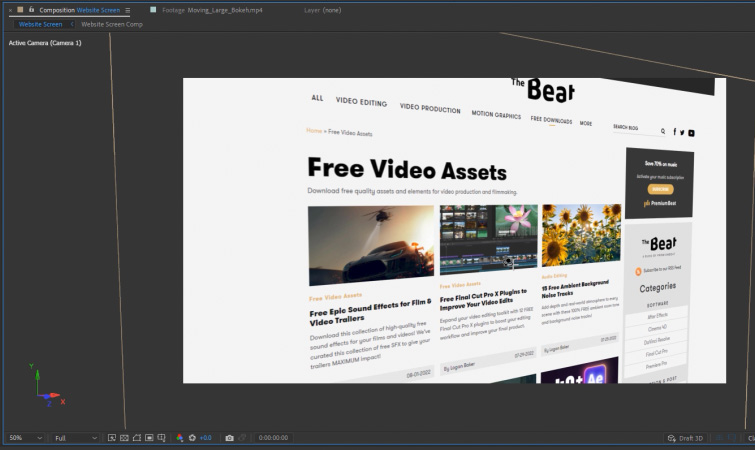
Begin by converting your screenshot into a 3D layer and creating a two-node camera. The two-node camera is crucial here, as it provides a target point that keeps your focus locked on a specific area of the image, even when the camera rotates.
To gain precise control over the movement, create a Null Object and set it as a 3D layer. By parenting your camera to this Null, you effectively create a rig. You can now animate the Y-Rotation of the Null Object to "swing" the camera across the image surface. This movement mimics a cinematic camera move rather than a digital software zoom.
Adding Depth of Field
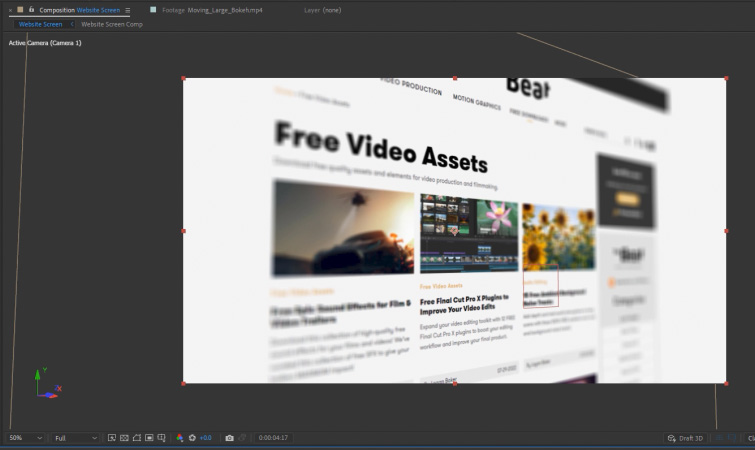
The final layer of polish is the application of Depth of Field. By enabling this in the Camera settings, you can define a specific focal point. As the camera swings across the screen, the background or peripheral elements will fall out of focus, creating a sophisticated, high-end look reminiscent of macro cinematography. Utilizing the Graph Editor to smooth out your keyframe interpolation—specifically using "Easy Ease"—will ensure that the motion feels fluid rather than mechanical.
3. The Power of Subject Masking and Segmentation
Sometimes, the most impactful way to animate an image is to treat it as a multi-planar scene. This process, often called "2.5D animation," involves isolating the foreground subject from the background.
Isolating and Manipulating
Using the Pen tool or the Roto Brush, mask out your main subject. Once the subject is separated onto its own layer, you have the freedom to animate the foreground and background independently.
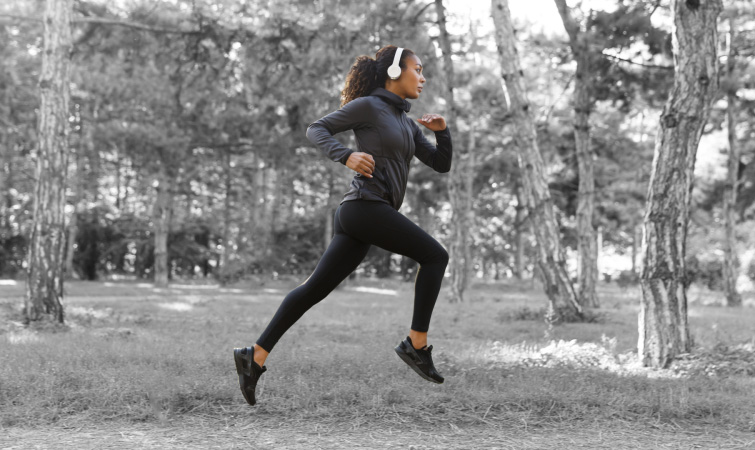
For instance, you can apply a subtle scale increase to the foreground subject while keeping the background static or applying a slow Gaussian blur. Alternatively, by desaturating the background to black and white while keeping the subject in full color, you create a visual hierarchy that naturally draws the viewer’s eye. This technique is particularly effective in commercial work or documentary-style profiles, where the goal is to emphasize the humanity of the subject.
4. Elevating Aesthetics with Animated Overlays
The final pillar of dynamic image editing is the strategic use of overlays. An overlay is an asset—such as light leaks, dust, bokeh, or atmospheric haze—placed on top of the original image to unify the scene’s aesthetic.
Blending Modes and Texture
The success of an overlay depends entirely on the Blending Mode. In most cases, setting your overlay layer to "Screen," "Add," or "Multiply" allows the light or texture to interact with the underlying photograph, removing any unwanted black or white backgrounds.
When you apply a subtle, slow-moving bokeh overlay over a portrait, you aren’t just adding movement; you are adding atmosphere. This technique masks the static nature of the image, tricking the eye into perceiving a living, breathing environment. Whether it is a subtle lens flare or a shifting god-ray, these overlays act as the "glue" that binds disparate elements together, making a collection of photos feel like a cohesive, cinematic sequence.
Implications for Modern Content Strategy
The shift toward these advanced motion techniques has significant implications for creators and agencies alike.
Enhanced Audience Retention
Data consistently shows that videos with high-quality motion design maintain higher retention rates. By providing the eye with constant, subtle movement, editors reduce the "boredom factor" associated with static slides. In an attention-scarce economy, these techniques are not just aesthetic choices; they are engagement strategies.
Scalability and Workflow
While these methods require more initial setup time than a standard "Ken Burns" zoom, they are highly scalable. Once a 3D rig or a masking template is created, it can be saved as a preset or a project template, allowing for rapid deployment in future edits. This efficiency allows solo creators to produce content that rivals the production value of larger studios.
The Professional Standard
As software becomes more accessible, the barrier to entry for high-level motion graphics has lowered, but the standard for "professional" work has risen. Clients and audiences now expect a level of polish that includes depth, atmospheric texture, and sophisticated camera movement. Mastering these four techniques ensures that your work remains competitive in an increasingly saturated market.
Conclusion
The transformation of a static image into a dynamic video element is an exercise in perception. By leveraging the 3D capabilities of Adobe After Effects, carefully masking subjects, and utilizing organic overlays, you can transcend the limitations of traditional editing. Whether you are working on a corporate presentation, a social media feature, or a documentary, these methods provide the structural framework needed to turn every frame into a compelling piece of visual storytelling.
The key is consistency and intentionality. Do not add motion simply for the sake of movement; use it to guide the viewer’s eye, build emotional resonance, and create a sense of place. As you integrate these practices into your workflow, you will find that your ability to tell stories through static assets evolves, turning your edits into immersive, cinematic experiences.
