
Mastering Post-Production: Eliminating Aliasing in Action Camera Footage
In the world of high-octane cinematography, action cameras, drones, and smartphones have democratized the ability to capture breathtaking perspectives. Whether it is a mountain biker navigating a technical descent or a drone pilot soaring over a jagged coastline, these devices offer unmatched versatility. However, this accessibility comes with a technical caveat: aliasing. As content creators strive for higher production values, the "stair-stepping" artifacts inherent in small-sensor footage have become a significant hurdle. This guide explores the nature of these distortions and details how to utilize the free FXAA plugin for Adobe After Effects to achieve a professional, polished finish.
What Is Aliasing on Video Footage?
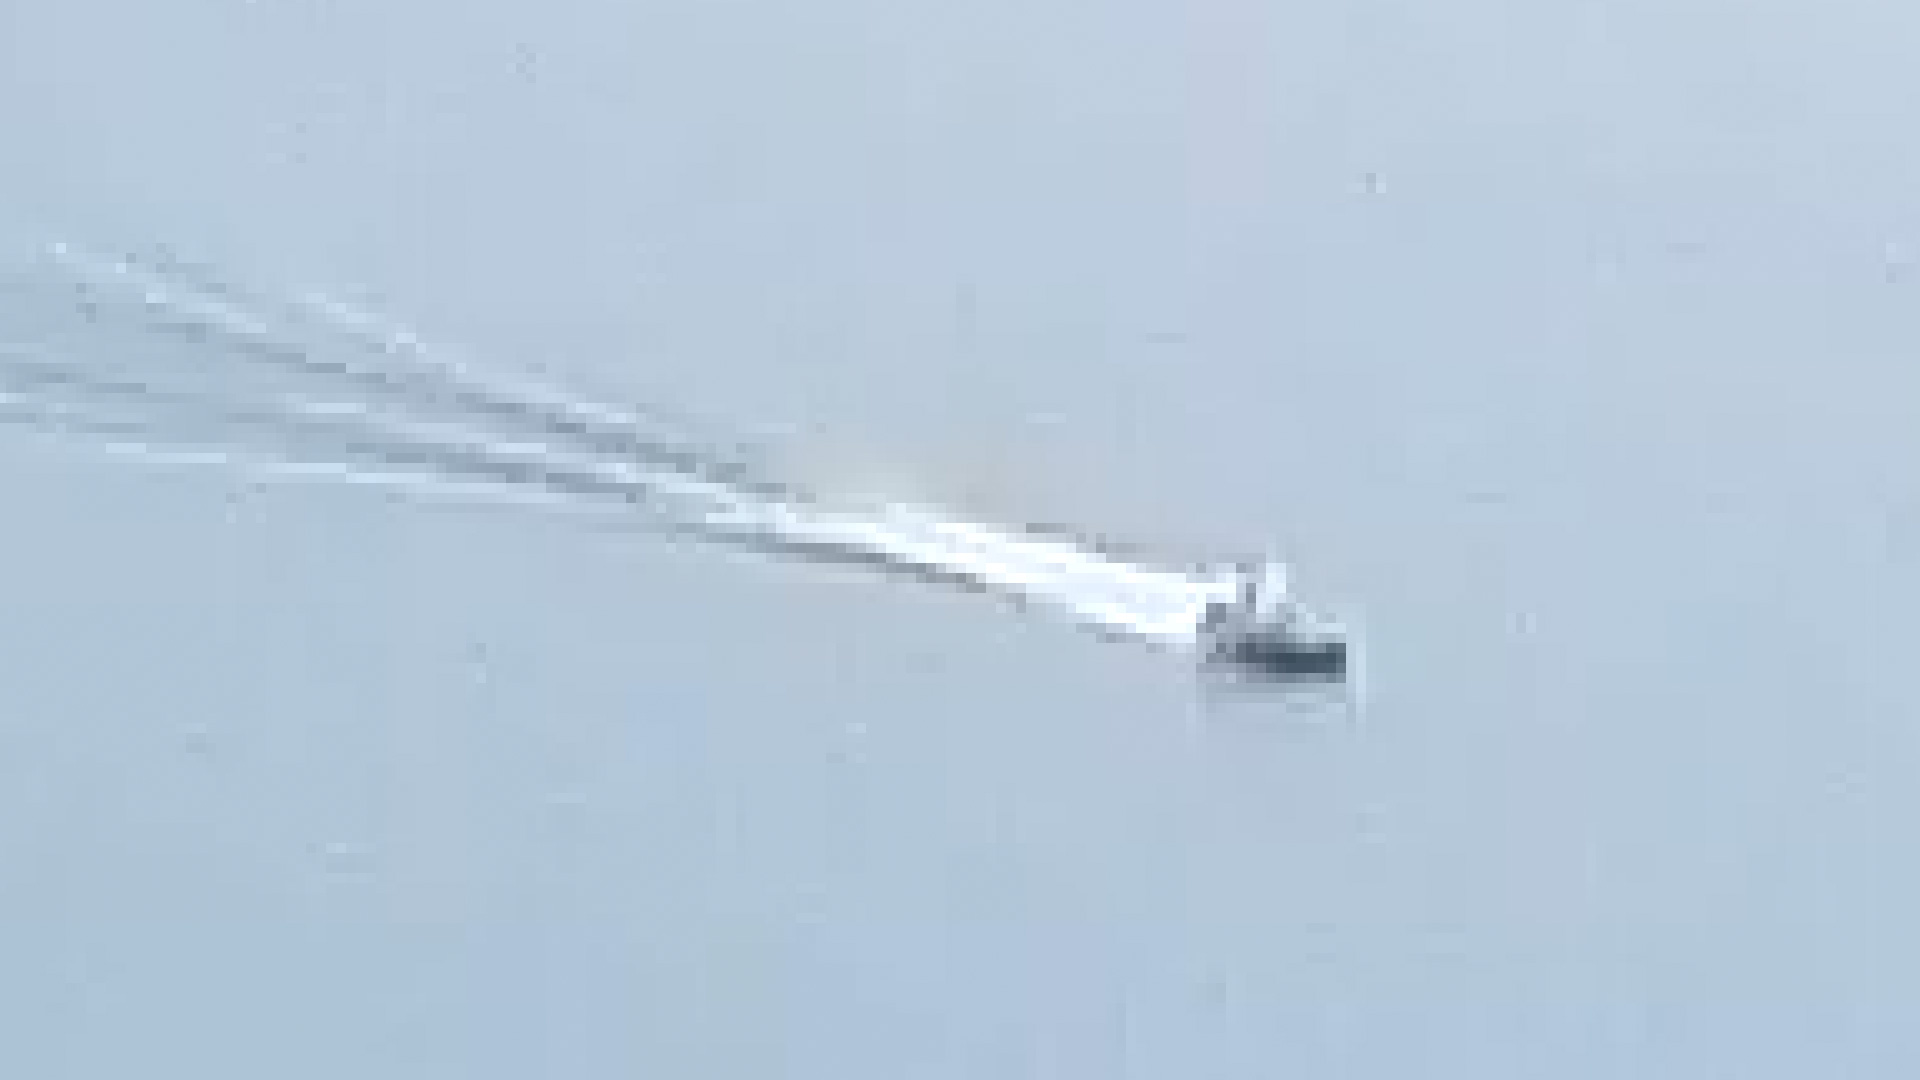
At its core, aliasing is a form of digital signal processing error. It manifests as jagged, pixelated edges—often referred to as "jaggies"—or shimmering patterns on high-contrast surfaces. In motion picture production, this phenomenon is a result of a sampling error.
When a camera sensor captures an image, it must translate the continuous physical world into a grid of discrete digital pixels. If the sensor lacks the resolution or the optical low-pass filter to properly "smooth" the transition between high-contrast details, the resulting image appears disjointed. This is particularly prevalent in action cameras, which rely on diminutive sensors that struggle to resolve fine detail without creating these artifacts. When you view a video and notice the "stair-stepped" lines along the horizon or a flickering effect on a fence or water surface, you are witnessing the direct consequences of aliasing.
The Technical Culprits: Why Action Cameras Struggle
The prevalence of aliasing in action footage is not merely a user error; it is a byproduct of hardware design and firmware processing.

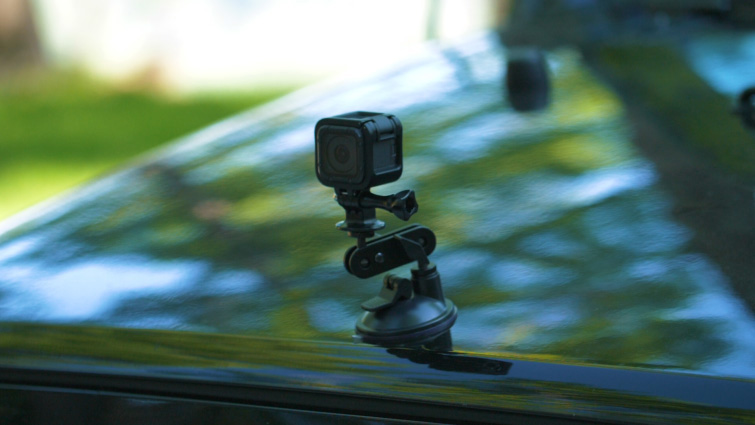
The Small Sensor Constraint
Most action cameras and mobile devices are built for portability. To keep the devices compact, manufacturers utilize significantly smaller sensors than those found in mirrorless or cinema cameras. These small sensors have smaller photosites, which are less efficient at gathering light and resolving fine spatial details. When the image processor attempts to upscale or sharpen this limited data, it often misinterprets edges, leading to aliasing.
Aggressive In-Camera Sharpening
To compensate for the limitations of small lenses and sensors, most action cameras ship with high-level, "baked-in" sharpening settings. While this makes footage look "crisp" on a small smartphone screen, it is a disaster for post-production. This aggressive edge enhancement exacerbates aliasing, turning minor sampling errors into harsh, high-contrast distortions that are difficult to ignore on larger displays.
Compression and Bitrate
Action cameras often use high-compression codecs to manage the massive data streams of 4K or 5.3K video. This compression, while efficient, introduces artifacts—specifically macro-blocking—that can interact with aliasing. When the codec attempts to compress a "jaggy" edge, it can create a shimmering, dancing effect known as "temporal aliasing," which draws the viewer’s eye away from the subject and ruins the cinematic quality of the shot.
A Chronology of Fixes: From Gaussian Blurs to Algorithmic Solutions
For years, video editors have struggled to balance sharpness and image integrity. The historical approach to dealing with aliasing was rudimentary, often causing more problems than it solved.
The "Old Method": Gaussian Blur
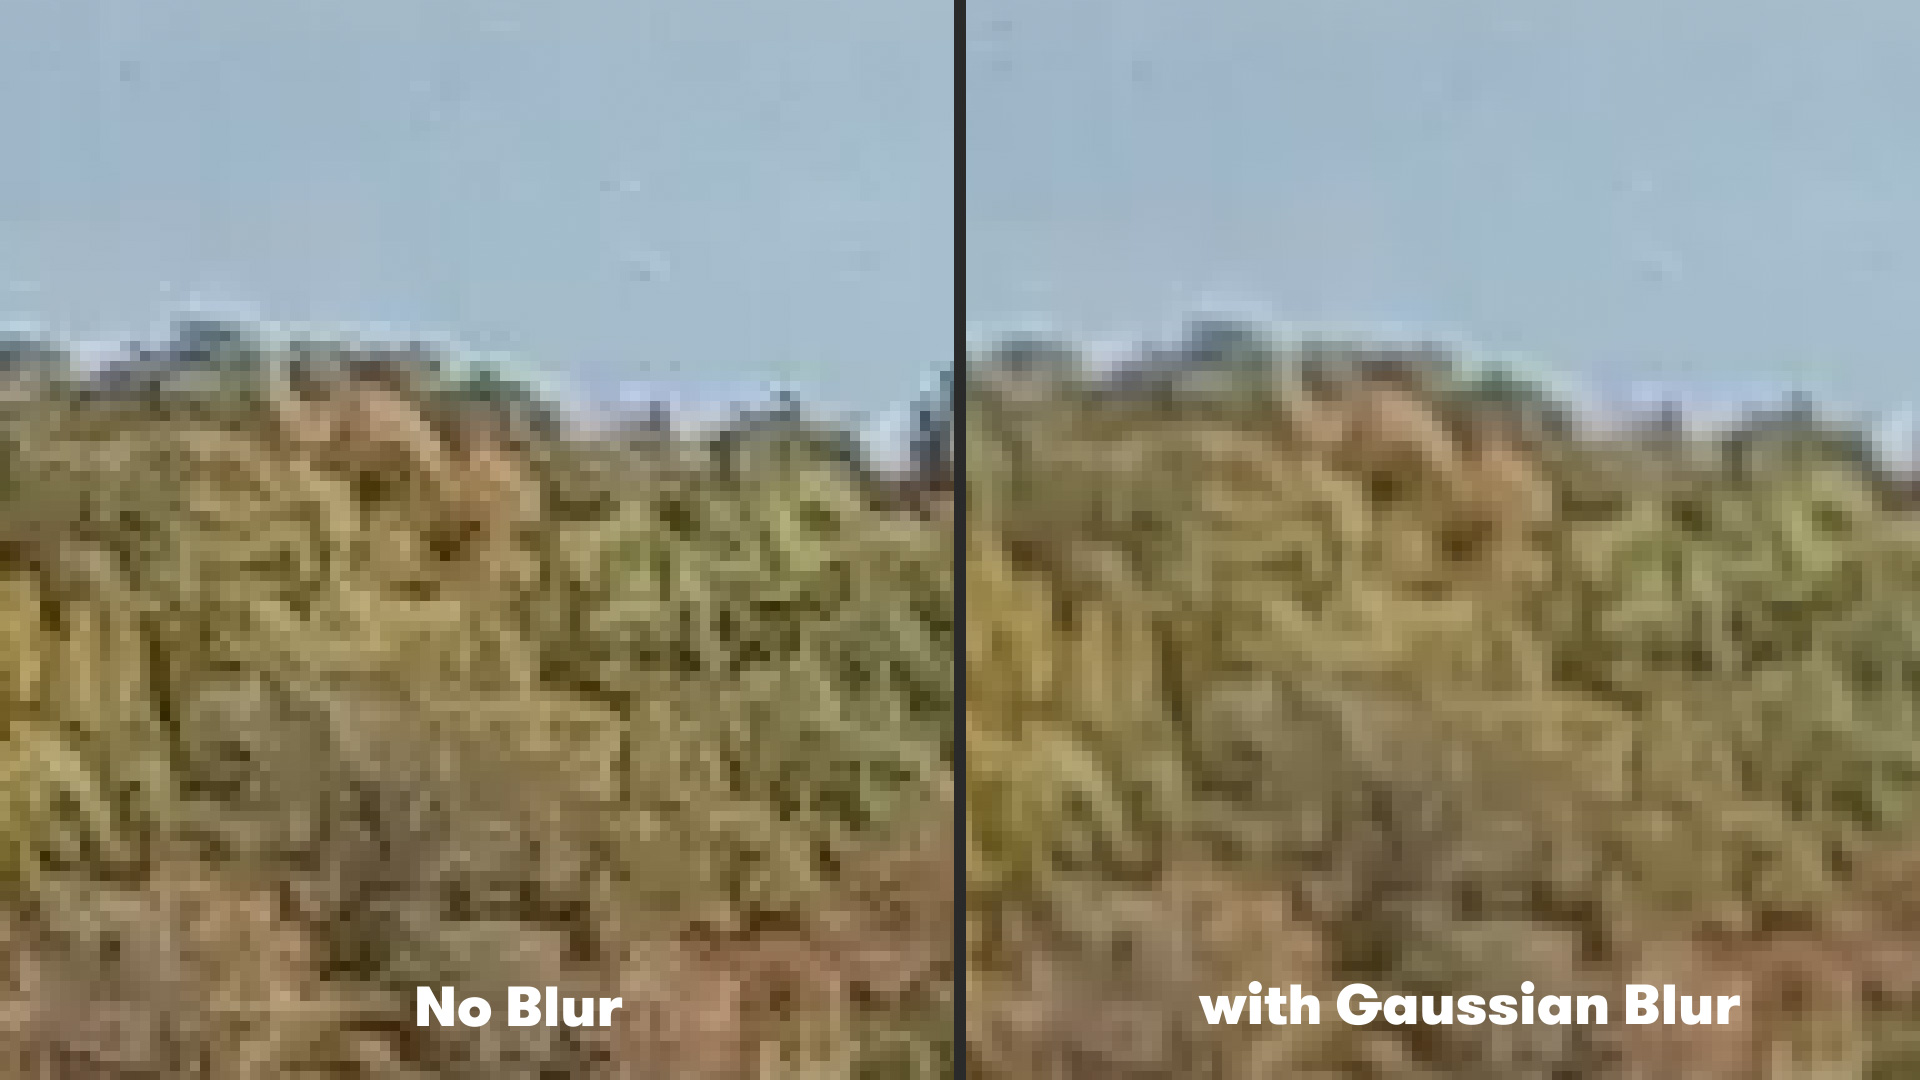
Before specialized plugins were widely available, the standard technique was to apply a global Gaussian Blur to the footage. By navigating to Effect > Blur & Sharpen > Gaussian Blur in After Effects and setting the blurriness to a value of approximately 2.0, editors could "soften" the jagged edges.
While effective at hiding the jaggies, this method had a significant drawback: it degraded the entire image. By blurring the whole frame, the editor sacrificed fine details in skin tones, fabric, and textures. The result was often a "muddy" or "dreamy" look that lacked the professional crispness expected in modern content. It was an imperfect compromise that essentially traded one visual flaw (aliasing) for another (softness).
The Modern Standard: Edge-Aware Anti-Aliasing
The evolution of post-production tools has moved toward "edge-aware" processing. Rather than applying a blanket filter, modern plugins identify where high-contrast edges exist and apply the smoothing effect only to those specific areas. This preserves the sharp, clear textures in the rest of the image while effectively neutralizing the shimmering aliasing.
Supporting Data: Why FXAA is the Industry Choice
The FXAA (Fast Approximate Anti-Aliasing) plugin, developed by the team at Plugin Everything, has become a cornerstone tool for editors working with action camera footage. Unlike traditional blur filters, FXAA is a screen-space post-process anti-aliasing algorithm.
How It Functions
FXAA works by analyzing the image frame-by-frame. It looks for high-contrast edges and performs a subtle, localized blur along those specific boundaries. Because it is optimized for speed—a necessity in gaming and high-resolution video editing—it processes the footage rapidly, allowing for real-time or near-real-time feedback in the After Effects timeline.
Efficiency and Quality
In internal testing using 4K action camera footage, applying FXAA significantly reduced the flickering on high-contrast objects (such as tree branches against a bright sky) without noticeably softening the overall image. The plugin’s efficiency is a major benefit for editors on tight deadlines, as it does not bog down render times compared to more computationally expensive solutions like Super Sampling or deep-learning upscalers.
Official Recommendations and Implementation
Implementing the FXAA plugin into your workflow is straightforward, allowing for immediate improvements in your visual output.
Step-by-Step Integration
- Download and Install: Visit the Plugin Everything website to download the free FXAA plugin.
- Apply the Effect: Once installed, open your After Effects composition. Select the layer containing your action camera footage.
- Navigate to the Effect: Go to the top menu bar, select Effect > Plugin Everything > FXAA.
- Fine-Tune: Once applied, the plugin will immediately begin working. If the aliasing is particularly severe—common in low-quality 4K upscaling—you can stack multiple instances of the effect. By adding two or three instances, you can gradually increase the smoothing effect until the desired level of visual stability is achieved.
Best Practices for Action Footage
While FXAA is a powerful tool, it is not a "magic bullet." To ensure the best results, consider the following:
- Shoot with Neutral Profiles: If your camera allows, use a "flat" or "neutral" color profile to reduce the amount of in-camera sharpening applied during the recording phase.
- Master Your Exposure: Properly exposed footage is less susceptible to noise, and noise often makes aliasing look significantly worse.
- Combine with Stabilization: Aliasing often occurs when the camera is vibrating violently. Using the ReelSteady GO app to stabilize your footage before applying FXAA will provide a much cleaner final product.
Implications for Future Production
The integration of smart anti-aliasing tools represents a shift in how indie filmmakers and social media creators approach technical limitations. We are moving away from an era where "fixing it in post" was considered an admission of failure. Instead, it is now a standard part of the creative pipeline.
By utilizing tools like FXAA, creators can push their hardware to its limits—filming in extreme conditions with small, portable cameras—without sacrificing the professional sheen of their final edit. The implication for the industry is clear: as cameras become smaller and more integrated into our lives, our software must become more sophisticated in how it reconstructs and refines the data they capture.
Final Thoughts
Action cameras will likely continue to utilize small sensors and high-contrast, sharp-out-of-the-box processing for the foreseeable future. However, with the right post-production toolkit, these limitations do not have to result in amateur-looking footage. By incorporating anti-aliasing steps into your workflow, you ensure that your audience remains focused on the action, not the artifacts.
Whether you are a professional filmmaker or a hobbyist sharing your latest adventure, taking these extra minutes to refine your footage in After Effects will elevate your content, ensuring it stands out in an increasingly crowded digital landscape.
